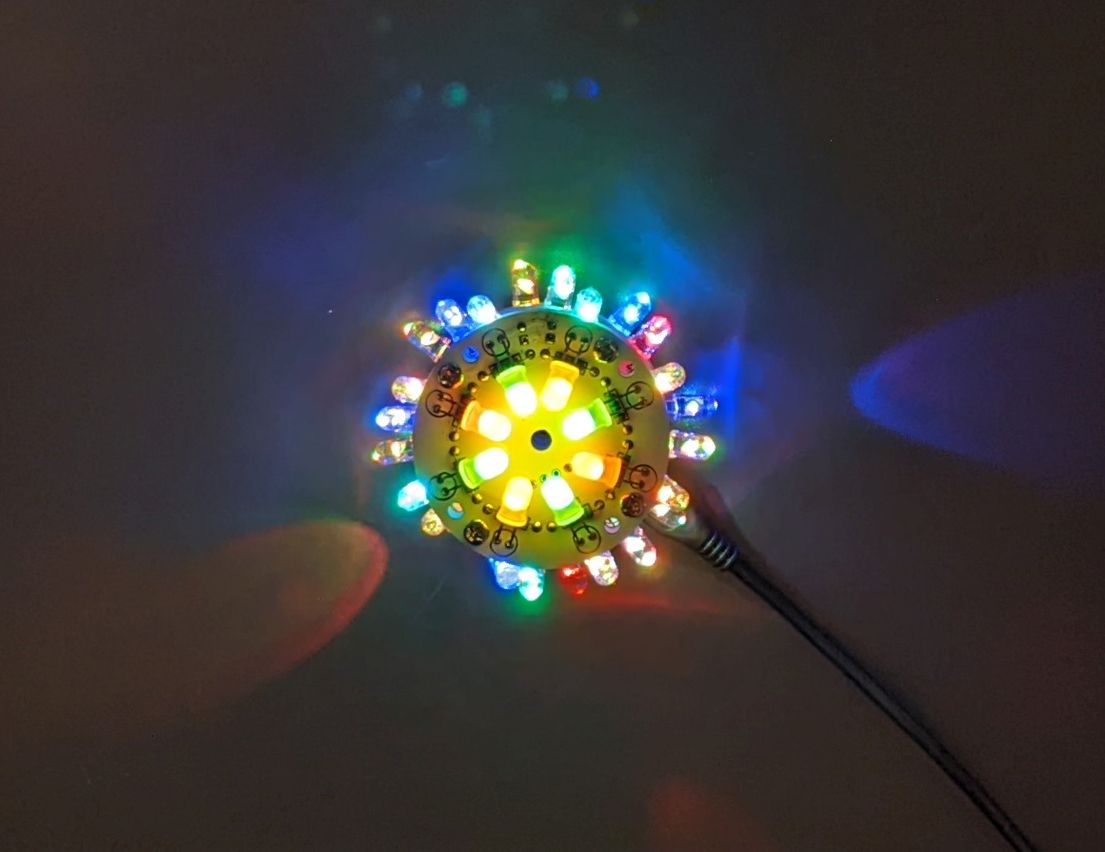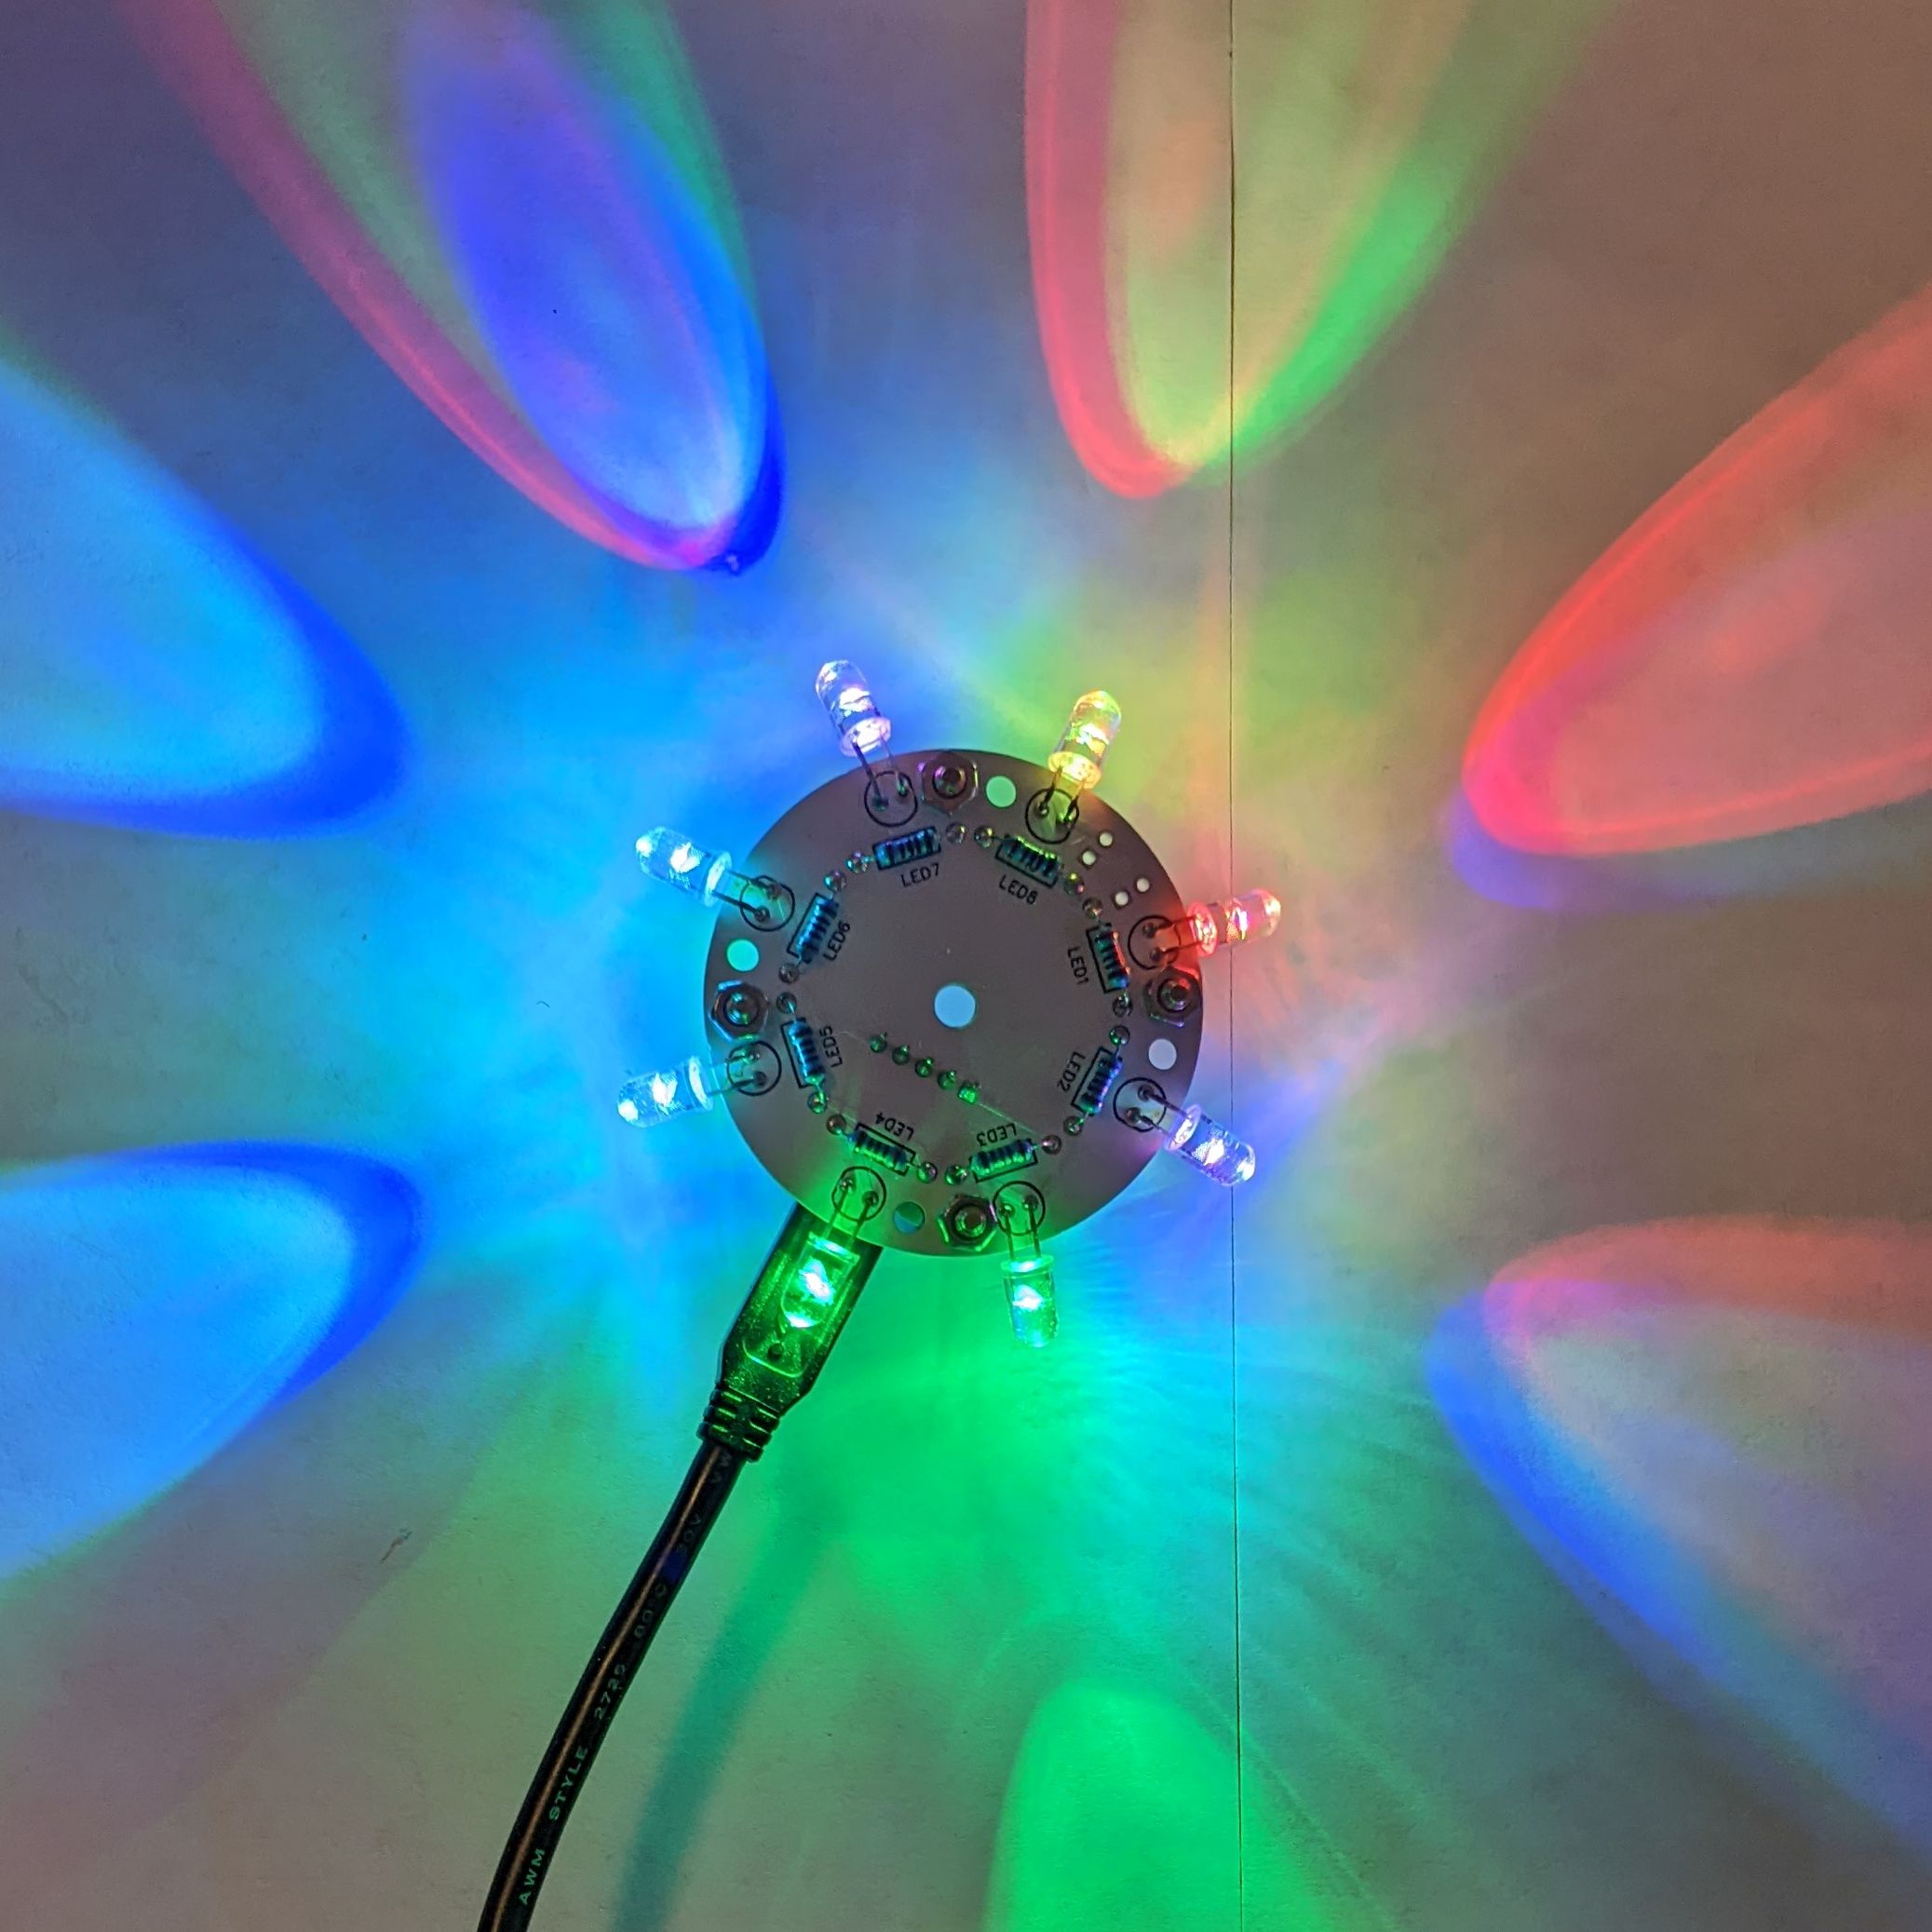
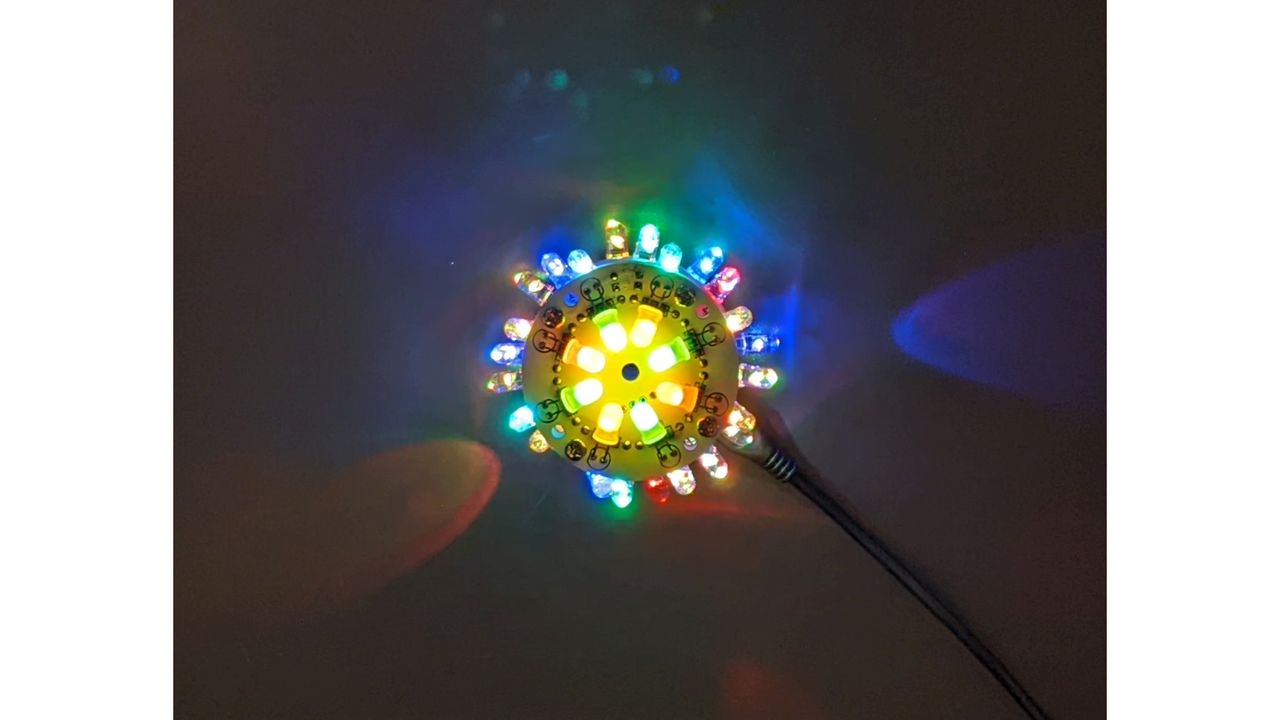
Wall Flower Kit
Light up your space with changing colors
Light up your space with changing colors
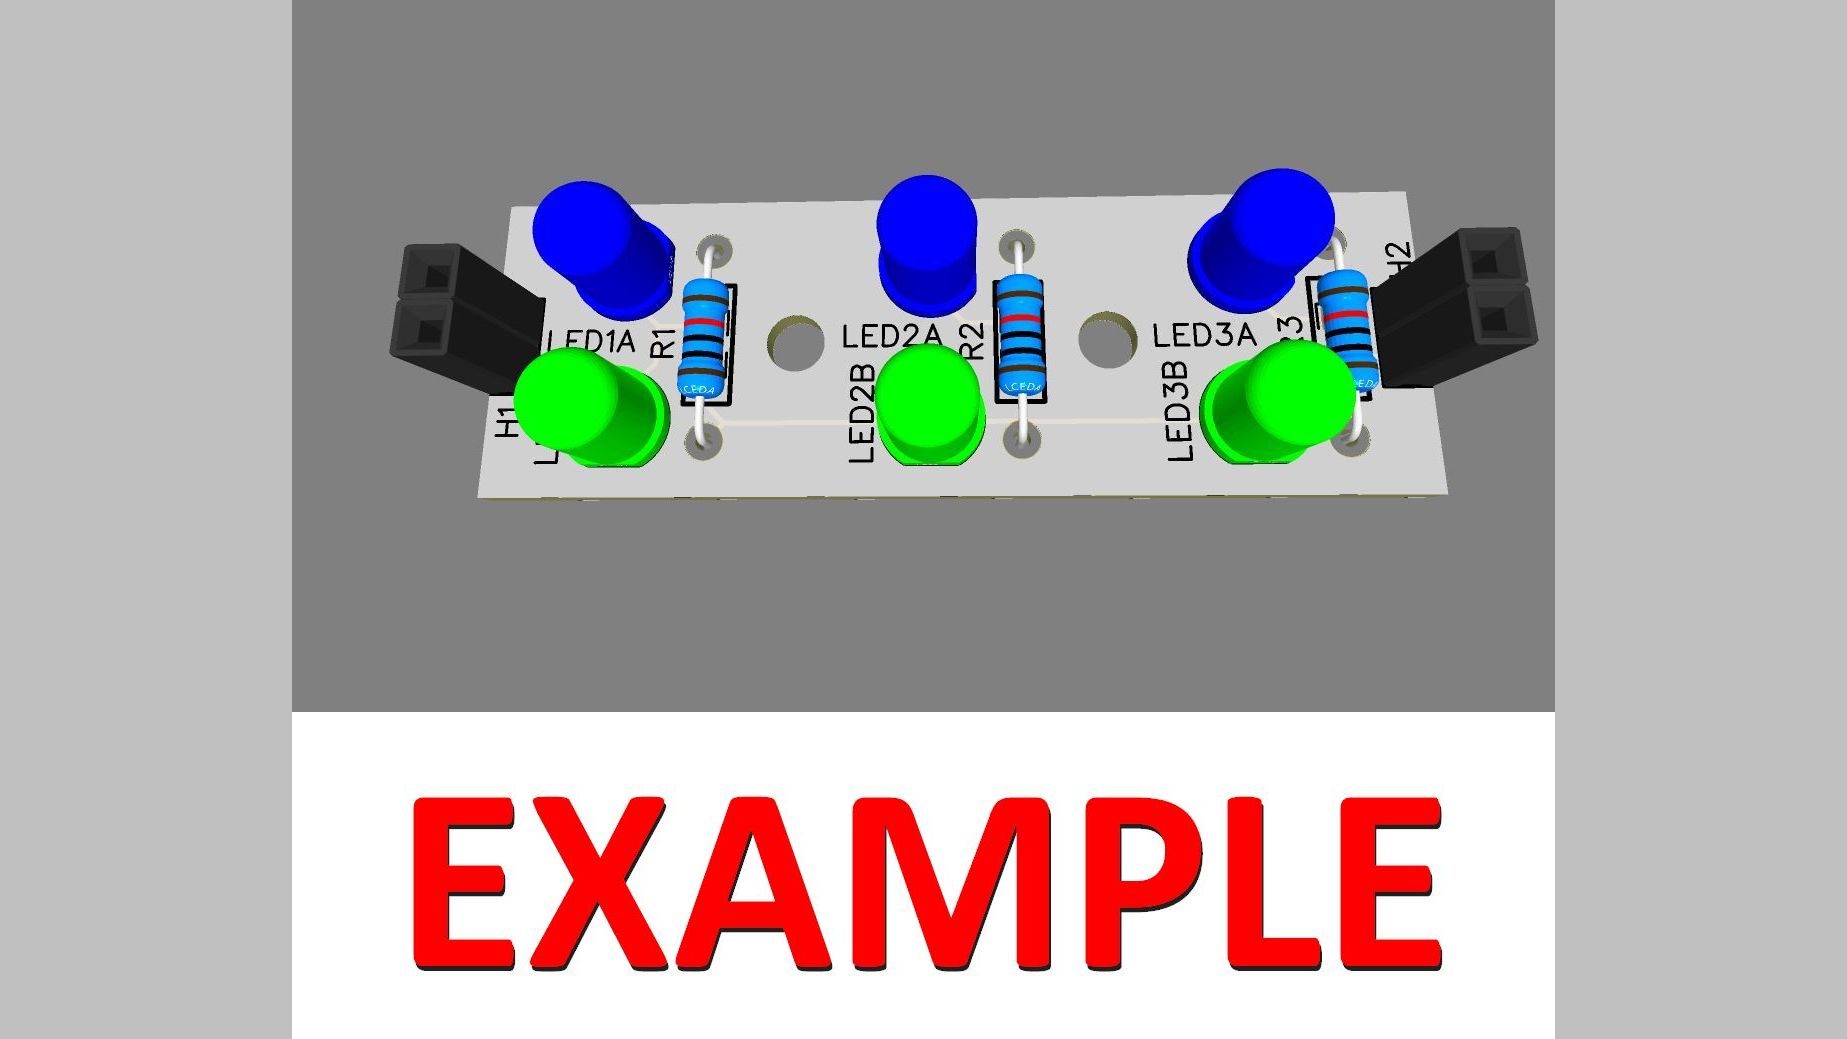
We have more kits that you might enjoy building. Here are just a few.
Click any image below for the full list.